
Tags
During the New Orleans Easter parade, I most looked forward to seeing Yvonne Lafleur, a local clothing designer and owner of The You Boutique. She always wowed me on Easter as she sported her loveliest dress design and millinery, reigning in Southern elegance. It was my dream one day to be as classy as Yvonne.

Photo by Greg Miles – Click to Link to New Orleans Magazine Article
Jillian’s christening was celebrated at St. Louis Cathedral, where I wore the Yvonne dress that Mama had given me on my nineteenth birthday. Yvonne Lafleur was a member of the congregation, and I secretly hoped that she noticed I was wearing her design.
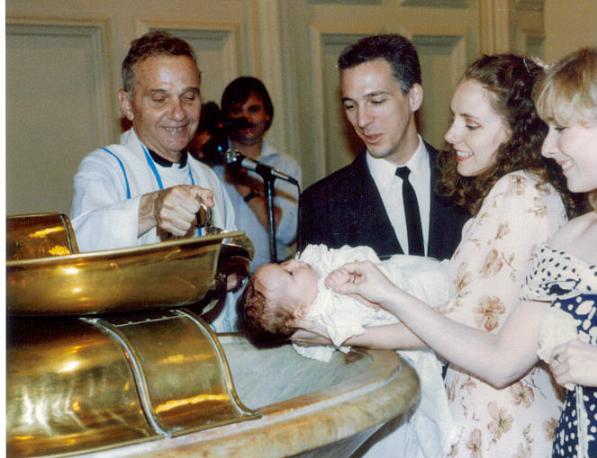
Wearing my Yvonne floral dress way back when.
That dress was in my suitcase when I evacuated for Katrina, and I plan to wear it for Jillian’s wedding. (It still fits!) Yvonne’s designs exude timelessness.
Yvonne still graces her shop, and she will cater to you herself to find exactly the right piece of artwork for your body. She’ll even offer you a glass of champagne. If ever I have met a real Lady, she’s Yvonne.
One other delight that I cherished at Easter was my panoramic egg. So delicate and beautiful, I always ate them last. They fell out of fashion when Jillian was a child, so I resorted to making them myself. The process has become one of our Easter traditions.

Here is how to make one. Fair warning: it’s time-consuming and messy (but worth the trouble).
Yield: One large and two small eggs, plus one tray of figurines
Tools You Will Need:
egg mold
egg mold pan (if making small ones)
figurine mold
icing tips #3 and #16
coupler and icing bags
food coloring
Ingredients for the Eggs:
2 egg whites (or meringue powder as a substitute)
3 1/2 cups sugar

Beat the egg whites (or meringue mixture) until frothy. Add to sugar and mix until it has the consistency of wet sand.

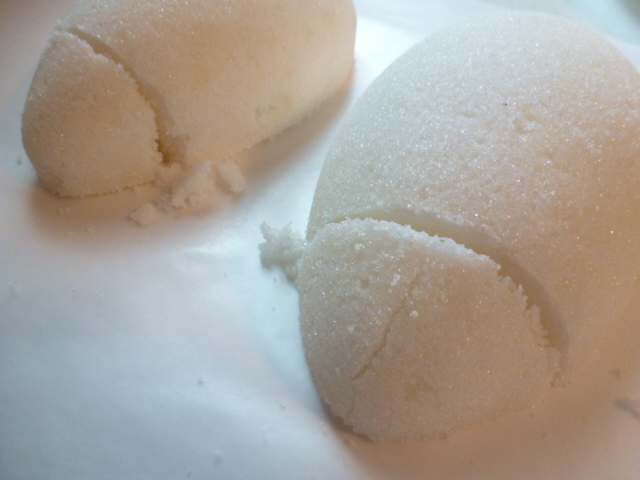
Fill the mold and carefully turn over onto a flat surface. I use a piece of cardboard covered with wax paper. Carefully remove the mold.

Cut off the tip of the egg and push the tip close to the egg (to keep the edge moist).
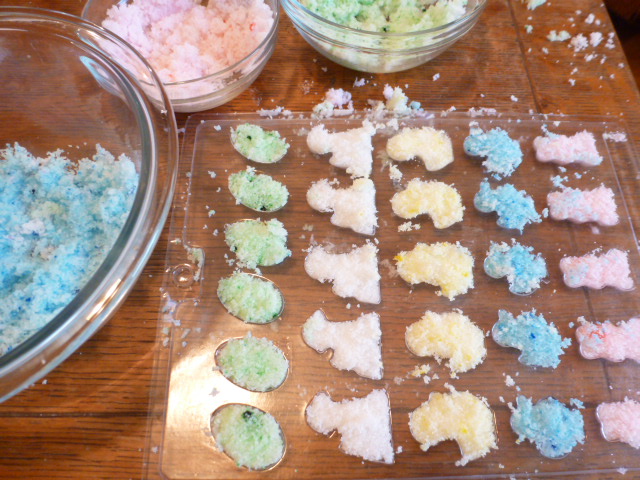
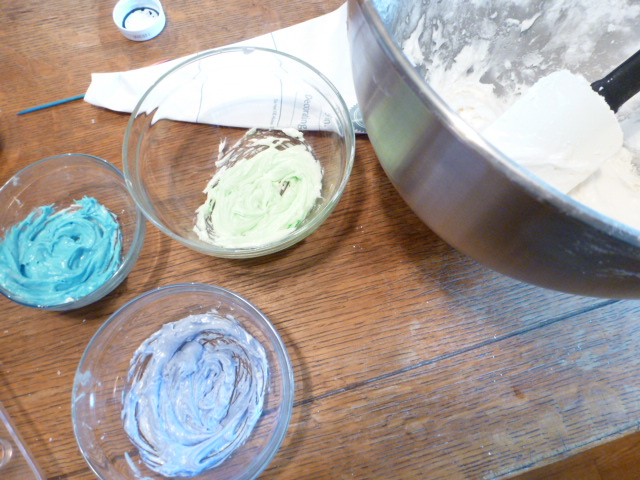
In small bowls, color some of the sugar in as many colors as you want.
Repeat the process with the smaller eggs and the figurines.
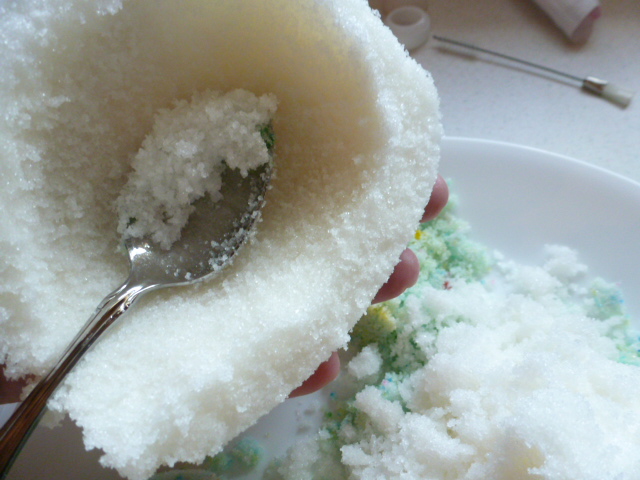
Allow to harden for about four hours. Then with a spoon, scoop out the center and the flat edge (the viewing hole) of the eggs. Allow to dry another four to six hours, or preferably overnight.
Royal Icing Ingredients:
(Don’t make until you are ready to use – it hardens very quickly. If you need to save it for more than a few minutes, cover with a damp cloth to keep it moist.)
2 egg whites (or meringue powder substitute)
1/2 teaspoon cream of tartar
1 teaspoon vanilla
4 cups powdered sugar
Beat the egg whites and cream of tarter until frothy. Add the vanilla then the sugar. Beat until it has the consistency of icing. If it’s too viscous, add a few drops of water and stir until soft. If it’s too soft, add another teaspoon or two of sugar and mix.
Remove one tablespoon of icing for each color that you would like to have and dye the icing.
Place the icing in the decorator bags, and use it to decorate the figurines. Use tip #3 for piping and tip #16 for the fluted edge.

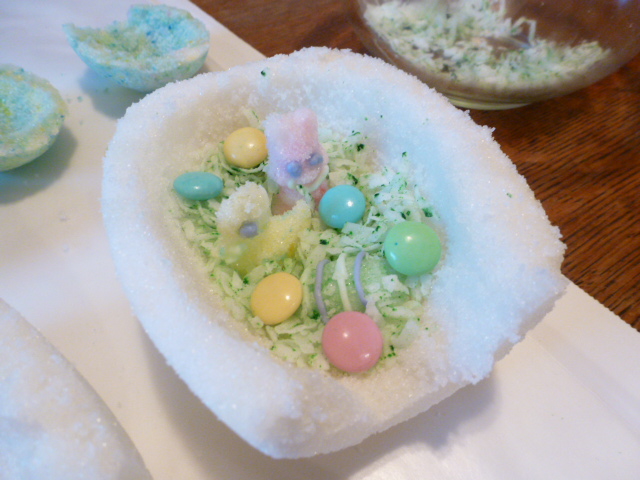
Now, with the #16 tip, using the white icing, “glue” the figurines into the flat half of the egg to create an Easter scene.
I added colored coconut for grass and M&Ms for Easter eggs.
Using the white icing and #16 tip, glue the top half of the egg to the bottom half, then decorate the seam and the hole.
As a child, I loved to stare through the hole and imagine that I was in there with the characters, cozy, warm, and wearing a lovely Yvonne Lafleur dress.

May you make some good memories this Easter!
~Stacy
